

Purpose
The purpose of this quick reference guide is to step through the process of completing Timesheet records as a Payee User within the Community. The intended audience for this document are Payees.Steps
Complete an online Timesheet
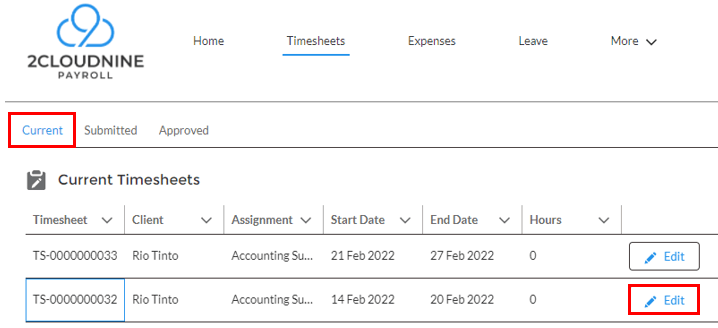
The Timesheet is used when processing Pay Transactions for the Calendar Period against a Temp Assignment. The record holds Time Entries, Expenses, Leave Events, Allowances and Approval details. Complete a Timesheet as a Payee User by following the below steps:- From within the Community Portal click the Timesheets tab (see Figure 1).

- From the Current tab, select Edit to complete Time Entries for a Timesheet (see Figure 2).
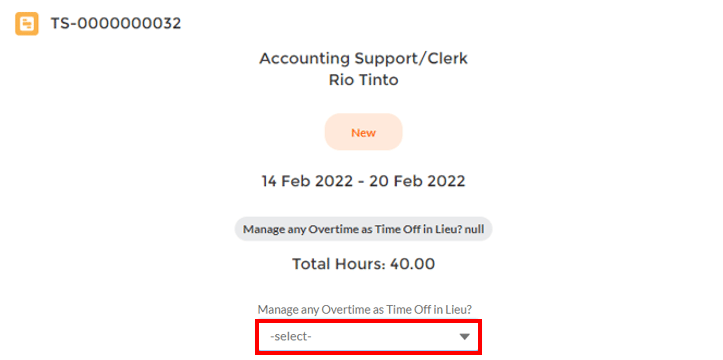
- To determine whether any Overtime should be attributed to Time Off in Lieu, select from the picklist values in the Manage any Overtime as Time Off in Lieu? field (see Figure 3):
Important Notes(Entering Time)The Timesheet Frequency, Start Day, Time Entry Format and Break Formats will differ depending on the Timesheet Calendar related to the Assignment.
- Populate Timesheet Entries as below:
- Capture time worked either by entering Start Time and End Time (see Figure 4) or Hours and Mins (see Figure 5) for each day worked.

- To enter Breaks, populate the Break Start and Break End (see Figure 4) or Break Mins (see Figure 5) for each Break taken.
- If you are entitled to Paid Breaks, select Yes from the Paid Breaks picklist values (see Figure 5).

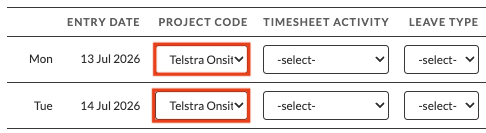
- To include a Project Code with the Timesheet Entry, select from the available picklist options in the Project Code field (see Figure 6).
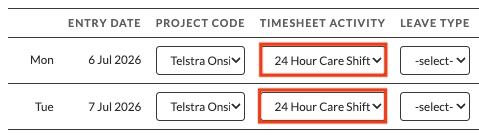
- To include a Timesheet Activity with the Timesheet Entry, select from the available picklist options in the Timesheet Activity field (see Figure 7).
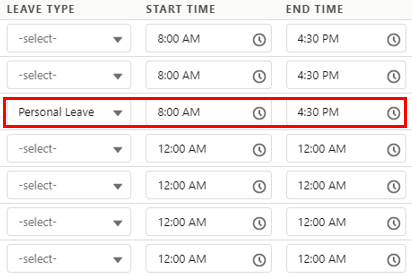
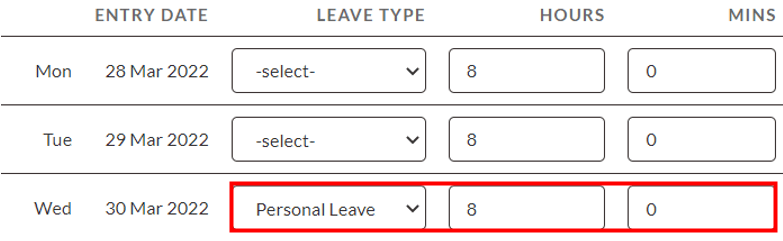
- To enter Leave, select Leave Type from the available picklist options within the Timesheet Entry row (see Figures 8 and 9) and enter either Start Time and End Time or Hours and Mins for any Leave taken.
- Leave is only available to select within Timesheets if the related Payee has been configured with Payee Leave Rules.
- To add additional Timesheet Entry lines, click the Add icon and adjust the date for the line as needed (see Figure 10).
- To copy the values from a Timesheet Entry to lower rows, click the Copy Down icon.
- To delete a Timesheet Entry row, select the Delete icon.
- Once you are satisfied with the Timesheet Entries, click on the Save button (see Figure 11).
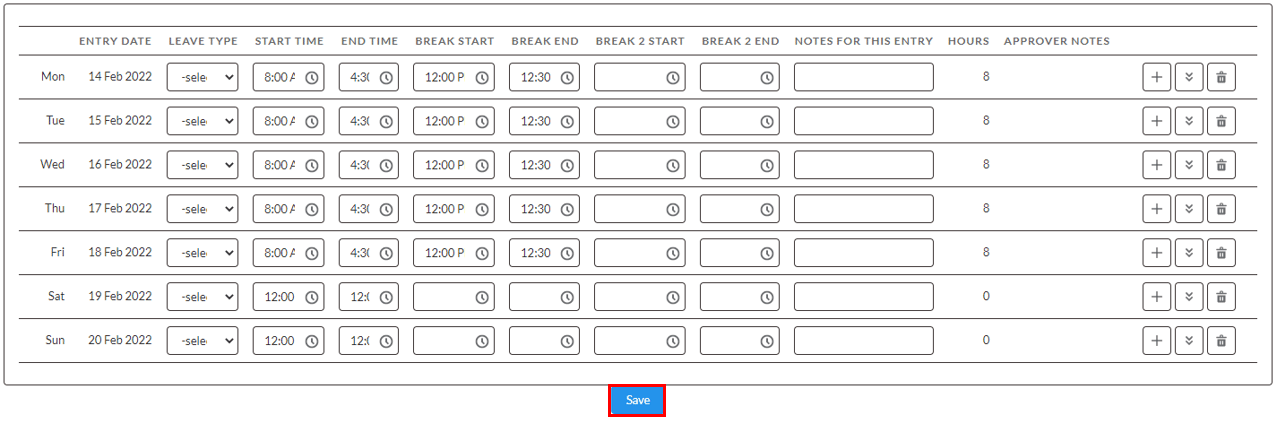
Important Notes(Entered Time)You MUST save the Timesheet before making any further changes (such as adding Allowances or Expenses) to avoid erasing Time Entry data.The Add, Copy, Down, and Delete buttons will only function as intended once at least one Timesheet Entry row has been populated, and all changes have been saved.
- To add an Allowance to the Timesheet (see Figure 12):
- Click the Add Allowance button.
- Populate the Date Incurred field.
- Select the Timesheet Allowance from the available Allowances for this Payee on this Assignment
- If an Allowance is not available, Payroll will need to create the appropriate Payee Allowance Record
- Enter the Allowance units in the Quantity field.
- Populate any Notes for this Entry (optional).
- To add any additional Allowances to this Timesheet, select the + button and repeat steps 6b. To 6e.
- Click the Save button.

- To add an Expense to the Timesheet (see Figure 13):
- Click the Add Expense button.
- Select the Date Incurred.
- Populate the Description field.
- Populate the Total Inc. Tax field.
- If the Expense includes GST, select the Taxable checkbox.
- Enter the value of the GST related to the Expense in the Tax field.
- Select the suitable Pay Code from the available picklist values.
- To add any additional Expenses to this Timesheet, select the + button and Repeat steps 7b. - 7g.
- Click the Save button.

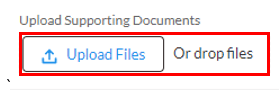
- Click Upload Files to attach any relevant receipts, or use the drag-and-drop feature to upload (see Figure 14).
Important Notes(Allowance and Expense Entry in Timesheets)The ability to enter Allowance and Expense details within Timesheets as detailed here, is only available if the required configuration for this has been implemented by the Employer.
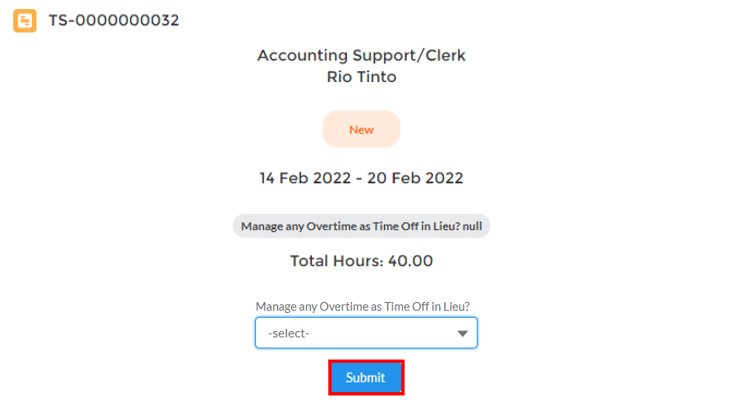
- Once the Timesheet is ready for submission, click on the Submit button to request approval from the Timesheet Approver(s) (see Figure 15).
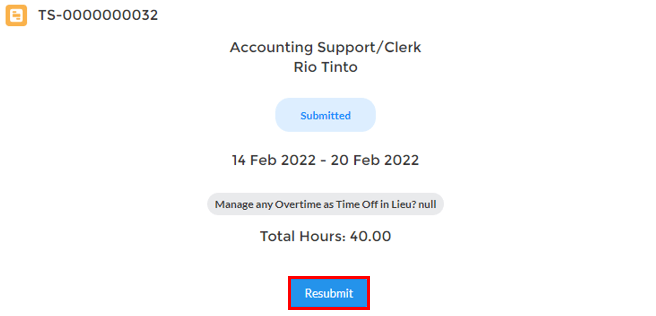
- Click on the Resubmit button to recall the Timesheet from Submitted status and withdraw it from the Approver (see Figure 16).
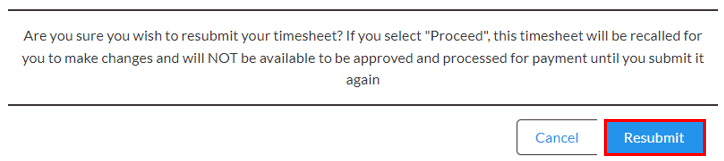
- Click on the Resubmit button from the popup warning screen that appears (see Figure 17).
Timesheet Management
When a Timesheet is Submitted, it must be approved by a Timesheet Approver before it can be processed by Payroll. If a Timesheet Approver Rejects a Timesheet, it is sent back to the Employee to make the required adjustments and to resubmit for Approval. Manage or review the status of Timesheets by following the below steps:- From within the Community Portal, click Timesheets (see Figure 18)

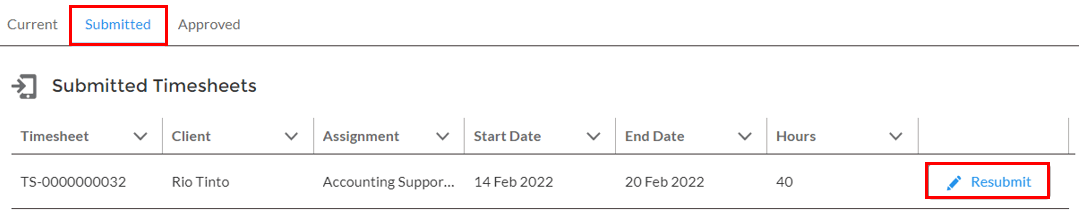
- The Submitted tab allows Employees to view all Timesheets currently awaiting approval, and also to edit and Resubmit any Timesheets that require changing as detailed earlier in steps 10 and 11 above (see Figure 19).
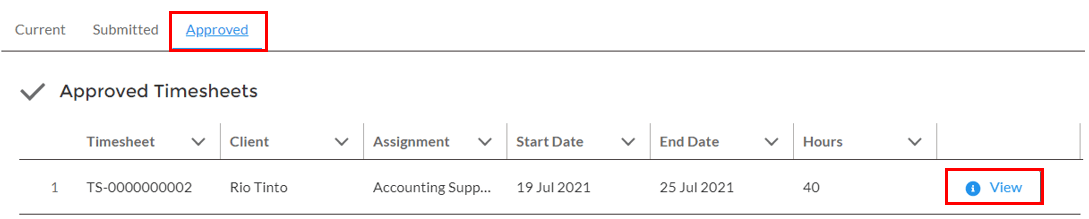
- The Approved tab allows Employees to view all Timesheets that have been Approved by a Timesheet Approver (or by Payroll). This includes both Timesheets that have been paid and those awaiting processing by Payroll (see Figure 20).
Field Descriptions
Further Information
- First Published: 10 August, 2026
- Last Published: 10 August, 2026